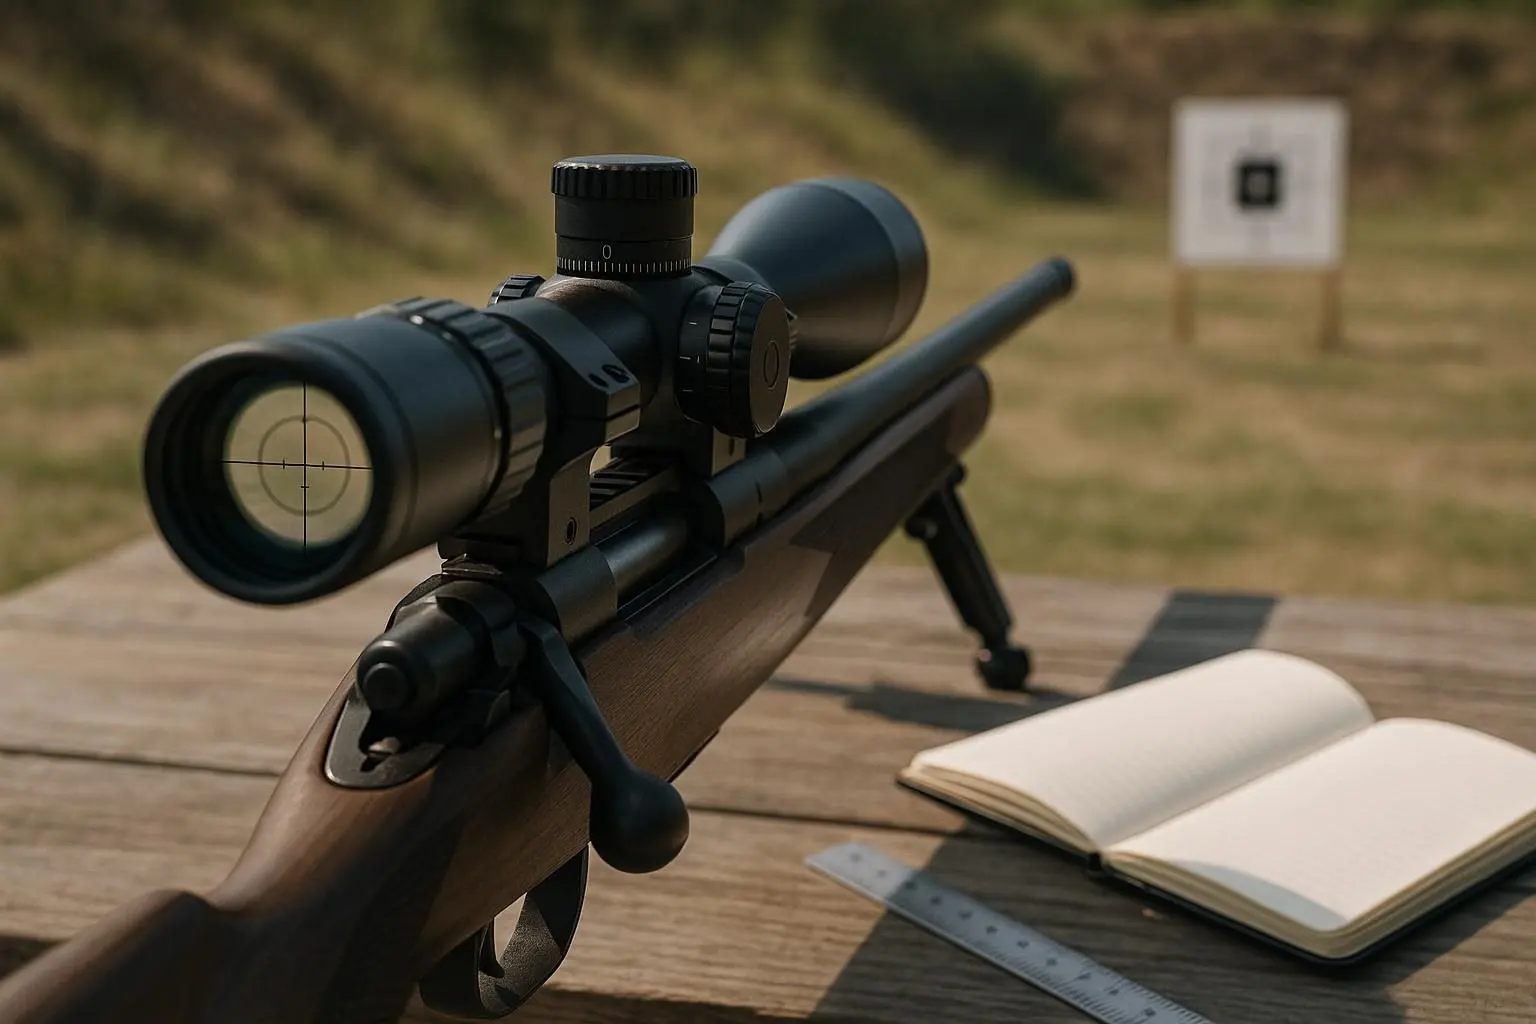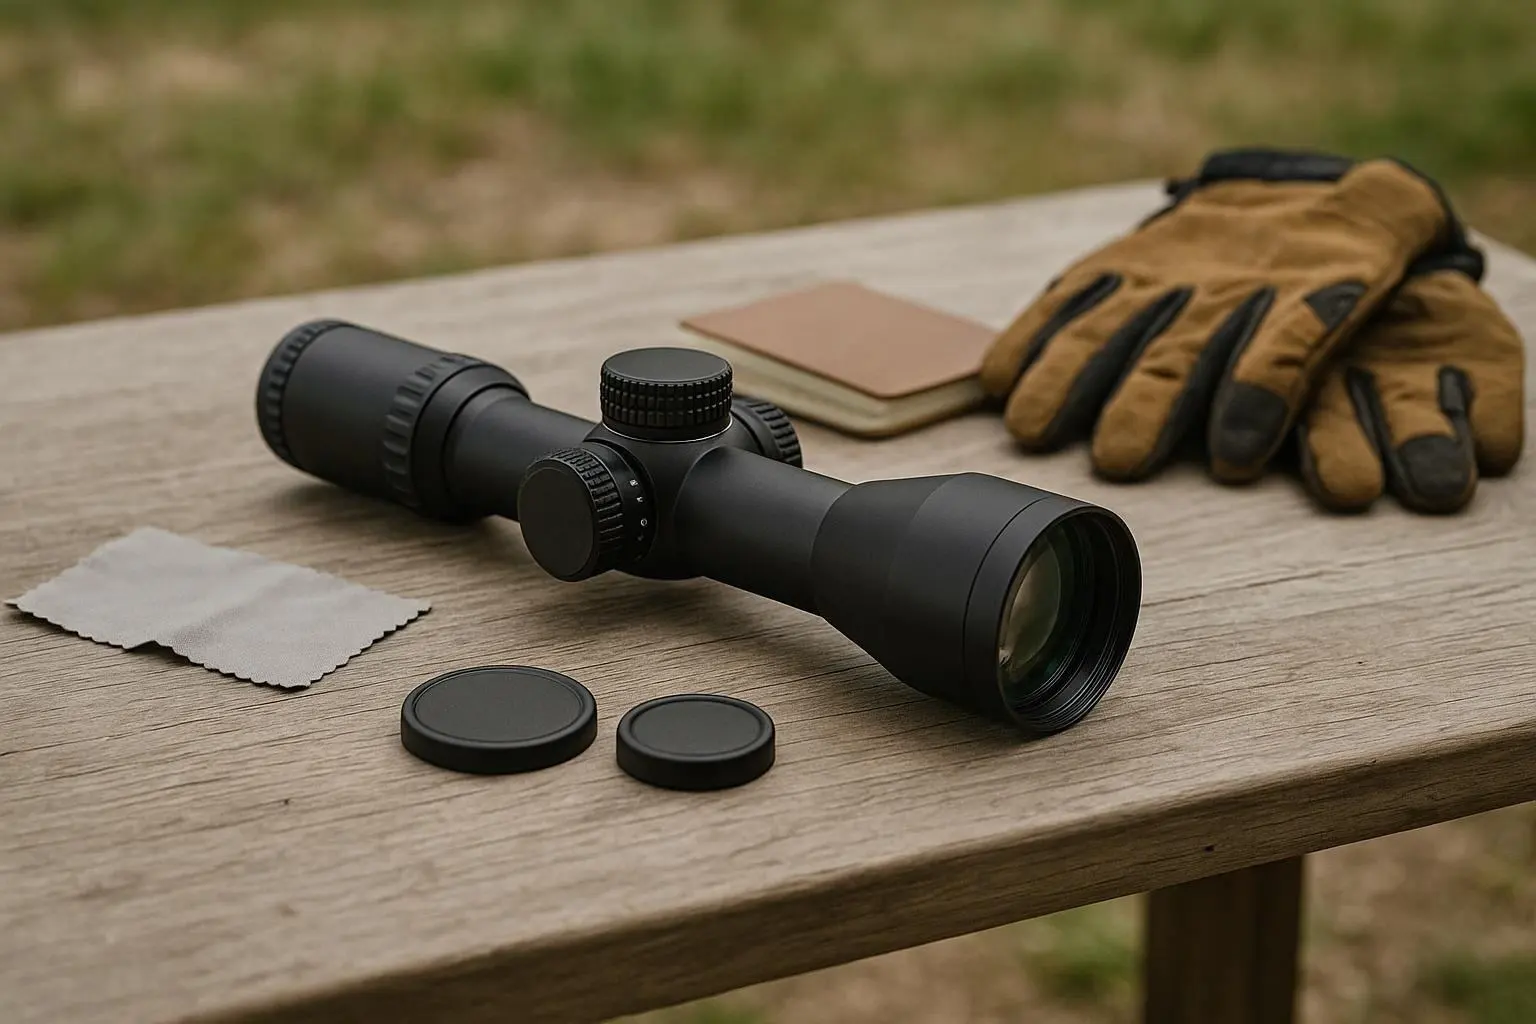
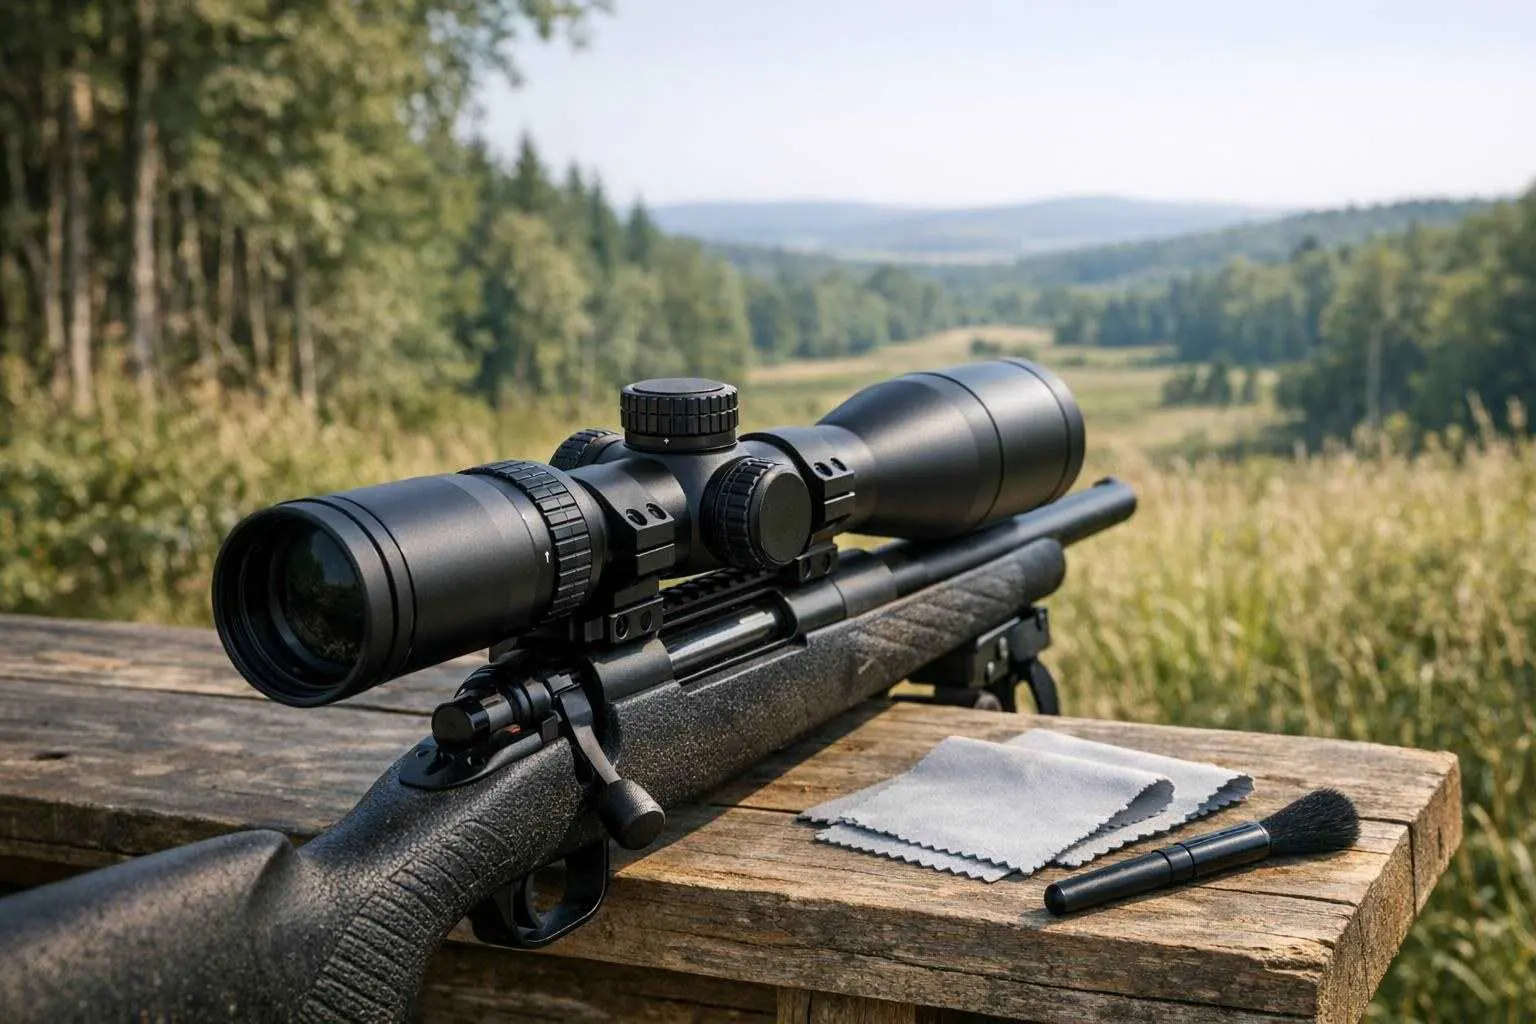
Just as important as the largest diameter of field of view is the view of the surrounding area as perceived by the observer. We call this the scope's normal view of the surroundings and refer to it as the "view of the area" as opposed to the "diameter of field of view". A narrow view of the area makes it difficult to find moving subjects. In contrast, a very wide view of the area makes close work appear to be much further away. Useful comparison scopes have similar views of the surrounding area as you would normally use them. As with any scope, several simple checks can reveal whether poor visibility is actually the optic's fault or rather a problem with the scope's setup or maintenance.
What field of view actually changes
When you compare rifle scopes with different magnifications the field of view also changes. The amount of extra scenery you can see when you lower the magnification also differs between scopes. It can make a big difference if a scope has an open view at the lowest magnification but gets much narrower at higher magnifications.
During observation of a target it is of greater importance that one has a good overview of the surrounding area than during searching for targets. However, after having found a target, one increases the magnification in order to study it in greater detail. Here the subject's movement is magnified in a greater degree and can quickly disappear from the visible area.
Why the lowest setting often matters first
In most instances when buying a scope, the buyer devotes the vast majority of their time to seeing how the highest magnification will look like. Most instances of close-range observation will be viewed through the lowest magnification setting, often within a small Viewing Window. So the lowest magnification setting needs to be viewed with the same interest as the highest magnification setting.
How fast can you get on target without moving your head to obtain the image in the first place? If you have to position your head in exactly the same position to reacquire the target, then this scope is not as flexible as its specs would suggest. Note, this is NOT a fault with the scope itself, it's a fault with the setup of the optic, the mount, your cheek weld, and the average distance you are shooting at.
Compare scopes at matching magnification
Read the field-of-view specifications for the models you are comparing at the same magnification for which the numbers were taken (e.g. low magnification for wide field of view or high magnification for narrow field of view). Numbers given in different units (e.g. meters vs. yards) and even numbers rounded to the same different number (e.g. '25 m' vs. 'about 25 m') must be compared after being converted to the same form.
When comparing Scopes don't just look at the largest figure. Look at the whole range. A useful low power view and a moderate top end may provide better all round use for active observation than a Scope optimized for high magnification. Also take into account the complexity of the reticle. A simple reticle will not clutter up a narrow field of view as much as a more complex reticle will.
Symptoms that point to a setup problem
A consistently black edge to the image, a crescent shaped shadow in the image or image only seen in an unnatural head position could indicate a poor eye position. Refer to manufacturer's instructions for proper eye relief and scope mounting. An image that is not clear at low power will not become clear at higher magnification.
Blur at one distance can be caused by several things including an incorrectly set ocular focus, an incorrectly set objective focus and dirt or moisture on the lens surfaces. This can include dust, oil or even moisture from sweat. Clean the external lens surfaces with good quality lens cleaning materials and do not use clothing, paper etc. and avoid using household glass cleaners as they often contain amphonytes.
Notice any differences in the FOV that cannot be explained? Make sure the magnification ring is turning smoothly. Ensure that no accessory (lens cleaning tissues, lens caps, rails, etc.), flip-open, or scope mount component is obstructing your view. When all else fails, determine whether the FOV has been distorted, remains out of focus, or if the image has developed into some sort of haze after proper cleaning and normal scope adjustment.
What should not be ignored in the field
Do not mistake external moisture on lenses, which can be removed by allowing a scope to slowly come up to room temperature and then placed in a dry area with covered lenses, with fogging that is coming from within the optic itself. Repeated moisture problems, rattling, hazing that cannot be cleared, a sudden loss of optical clarity, or a reticle that appears to shift are all reasons to immediately stop use of the optic and seek the services of a qualified scope repair shop or the manufacturer itself.
Dismantling a sealed scope in your garage or on your workbench can have serious consequences! Sealed optics can be easily damaged when opened for reasons other than normal service. Be careful to record the magnification at which the problem occurred, as well as a description of the surrounding weather, and any other relevant facts. Focus problems are often easily diagnosed, but other optical problems can be more difficult to determine.
Match the view to the way you observe
For scope work in open country such as prairie or rolling hills, a narrow view at high magnification might be acceptable for deliberative observation of stationary objects at some distance. However, for dense cover such as thicket, for fast moving objects, and for close range work, a very wide view at low magnification is of much greater value for initial location of a subject.
I wrote that scope eye relief and your scope's mounting position (to your stock and/or eye gralloch) are equally important when choosing a new scope, so try the scope from your normal shooting position with the lowest power first. Then, increase the magnification to the higher powers as you find necessary.
A practical check before choosing or using one
When purchasing a new optic compare the Field of View at the same magnification setting, check the units of measurement for any being sold, and look to see which lowest power setting will best match your style of observation. Before a trip inspect the lenses for cleaning and check that all adjustment rings etc. move smoothly. Check for any signs of haze, loose parts or if the reticle appears to be centred / stable. Test the sight from your normal field position NOT with your head in an odd position to try and fit the scope.
It's also worth remembering that the field of view is one of the main criteria when choosing scopes, but symptoms such as internal fogging, a persisting blurring or sudden mechanical change all require investigation and possible cessation of use.