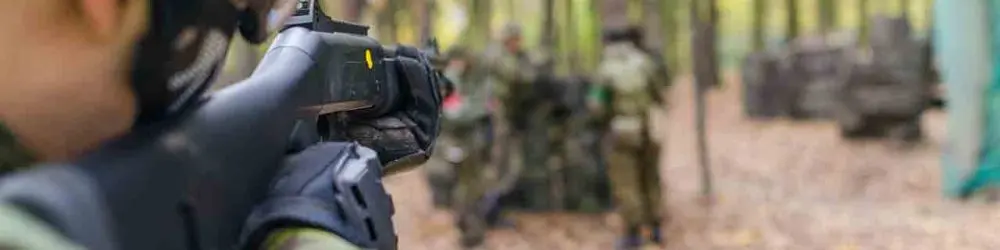
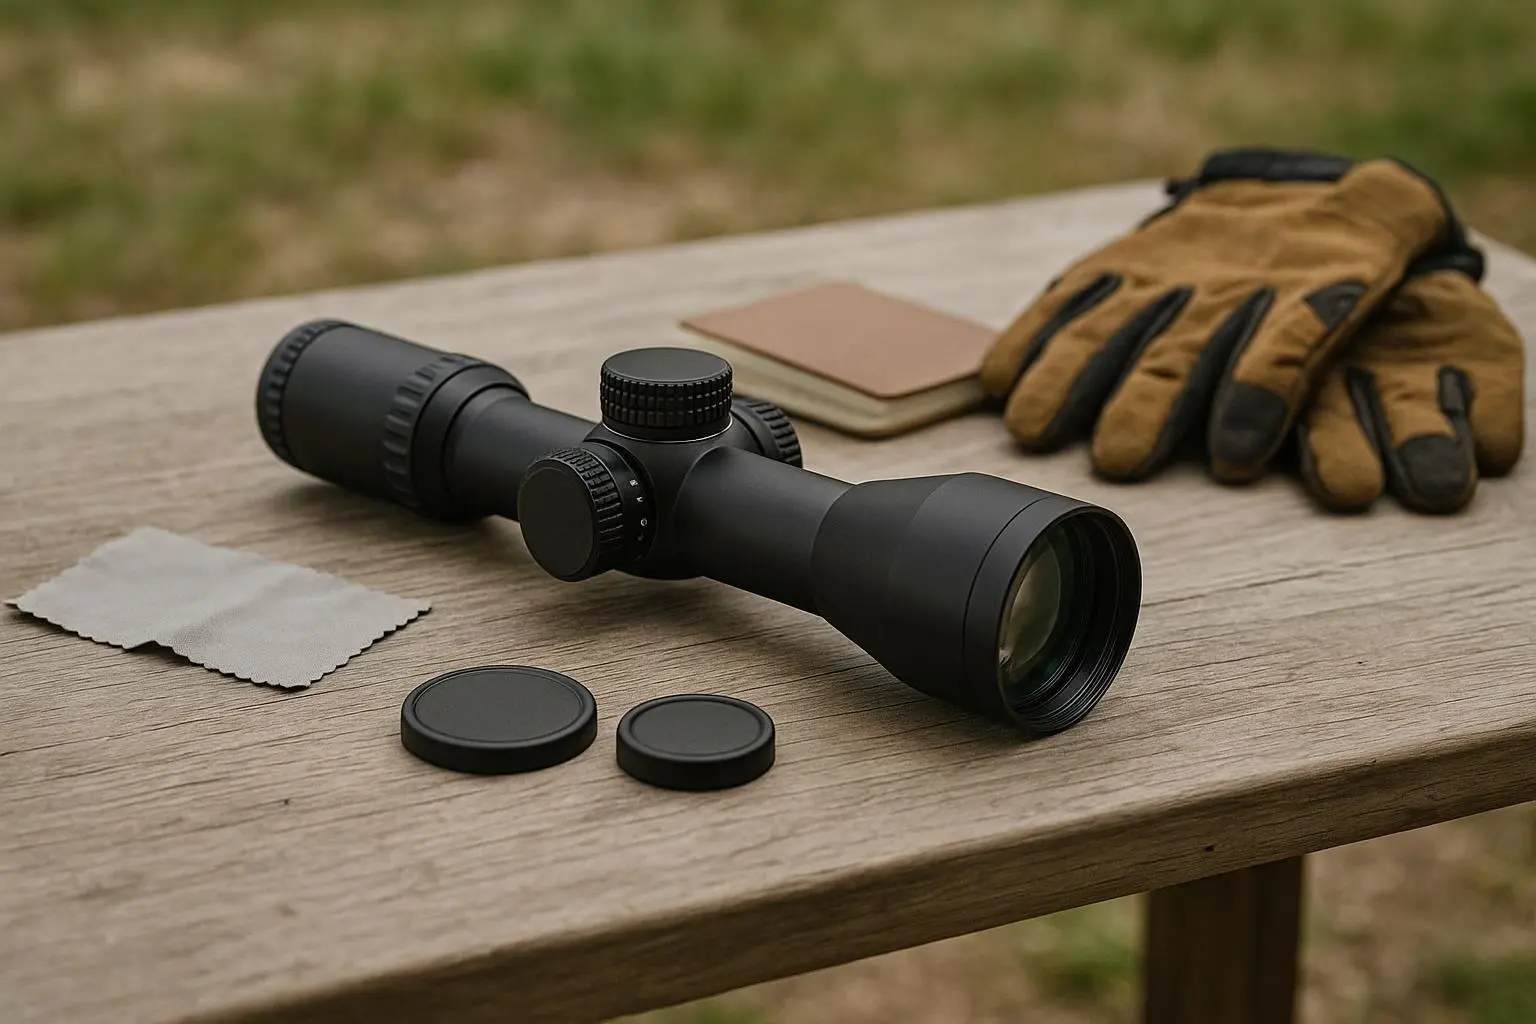
A hunter reaches a glassing point and finds the binoculars tiring to hold, difficult to acquire and too narrow for moving animals. A target shooter may face the opposite problem: excessive magnification, an obstructive reticle and awkward controls. The better buying question is not which specification looks largest, but what you need to see, how steadily you can support it and what the equipment must do throughout the trip.
Start with the task, not the product category
Describe the job plainly. Are you scanning wide terrain, confirming an animal's details, placing repeated shots on a known-distance target or observing in very low light? Each task requires a different balance of reach, brightness, speed and handling.
A stalking hunter may value a compact scope with a forgiving field of view and a reticle that stays clear at lower magnification. A bench-oriented target shooter may accept more size and weight for finer aiming control. Someone observing wildlife from a fixed position can prioritize a tripod-compatible binocular or spotting scope, while a traveler may care more about packability and fast setup.
The same instrument can suit one setting and frustrate you in another. Begin with the most common use, not the most impressive specification.
Magnification is useful only when you can use it
Higher magnification makes a distant target appear larger, but it also narrows the field of view, exaggerates hand movement and can make a subject harder to locate. Those costs may outweigh the extra reach promised by a listing.
Consider where the subject normally appears and how much time you have to find it. Moving game, close woodland and uneven shooting positions generally favor a wider view and easier eye placement. A stable position on a predictable range can make narrower viewing and stronger magnification more manageable.
Variable-power rifle scopes offer flexibility but may add controls, bulk or awkward balance. Test the full range rather than judging the highest setting alone. If the image is difficult to acquire or the reticle overwhelms the view, the nominal maximum is not helping.
Treat the reticle as a working interface
Reticle choice affects speed, precision and confidence. A simple crosshair provides an uncluttered view for hunting and general observation. A graduated design can help with holdover or repeated target work, but only if its markings remain understandable at the magnification and in the lighting you actually use.
Test illumination practically. Excessive brightness can distract the eye or reduce apparent detail around a dim subject. Check whether the aiming point is visible against dark and light backgrounds and whether adjustment is fine enough to avoid visual noise.
Do not choose from a diagram alone. Look through a sample if possible, or consult documentation showing the design at relevant magnification settings. Check whether it is in the first or second focal plane, then consider whether its apparent size and subtensions suit your method.
Field of view and eye relief decide comfort
Field of view is easy to overlook because it is less dramatic than magnification. A broad view speeds scanning and helps track moving subjects. A narrow view may suit deliberate aiming from a steady position but feel restrictive when a target appears unexpectedly.
Eye relief and eye box affect how quickly you obtain a full image. A scope demanding exact head placement may be manageable from a bench but troublesome from a standing or improvised position. With binoculars, check whether the interpupillary adjustment holds and whether the eyecups suit your glasses.
Try equipment in the posture you will actually use. Shoulder a rifle safely and unloaded, or view through binoculars while standing and seated. Check for black crescents, glare, uncomfortable neck angles and repeated repositioning. Comfort directly affects observation time and consistency.
Brightness is more than a lens-size comparison
Low-light performance depends on the complete optical system, your eyes, the weather, the background and available light. A large objective may admit more light, but it can add weight and require higher mounting. Coatings, internal quality, focus control and stray-light management matter too, while a specification sheet rarely shows their practical effect.
Compare instruments at the same time of day and under similar conditions when possible. Look for contrast, edge sharpness, color shifts, flare from nearby lights and how quickly your eyes tire. A bright-looking image with poor contrast may reveal less useful detail than a slightly dimmer, cleaner view.
For night vision or digital low-light equipment, check the intended environment carefully. Image behavior, infrared illumination, battery management and legal restrictions vary by design and jurisdiction. Rules concerning hunting, artificial light, recording or night use may change, so confirm current requirements with the relevant official authority before relying on the equipment.
Verify the setup before leaving home
A good instrument can disappoint when the surrounding setup is wrong. Confirm that the mount, rings, tripod head, carrying system and protective covers work together. Check that controls are reachable without shifting your grip and that the focus system is not confused with an adjustable objective or parallax control.
For a rifle scope, use a safe, unloaded firearm during handling checks and follow applicable firearm and range rules. Confirm mounting alignment, eye position and adjustment direction before live zeroing. A quick glance through the optic does not prove the setup is ready.
Use this checklist before a trip:
– Can I find the subject quickly at the lowest useful magnification?
– Is the reticle readable without covering the detail I need?
– Can I hold or support the instrument comfortably for the expected session?
– Have I checked focus, eye relief, controls, batteries and mounting hardware?
– Have I verified current local rules for hunting, night observation and equipment use?
Buy for the repeated situation
The right choice usually removes the most likely point of failure. If you repeatedly lose subjects while scanning, prioritize field of view and handling. If aiming detail disappears at your working distance, examine magnification, focus and reticle behavior together rather than chasing the highest power. If fatigue ends the session early, reducing weight may improve results more than adding optical reach.
Read specifications as clues, not verdicts. Compare like with like, inspect the instrument in a realistic position and leave room for the parts that make it usable. Outdoor optics earn their value when they support a clear decision in changing conditions, not when their specification sheet looks impressive in isolation.